SSCC users occasionally need to print on special paper, including letterhead, forms, or dissertation-quality paper. If you need to print a long document on special paper, like a dissertation, please speak with the operator and they will assist you. But for short documents on special paper, you can use the printer in 2470. This article will tell you how to do so from Windows (if you are using a different operating system you'll want to connect to one of the terminal servers).
Please note that doing anything out of the ordinary with computers has a chance of running into problems. You would be wise to bring some extra paper and allow yourself some extra time when printing on special paper.
Telling the Printer to Use Your Paper
Start to print your document as usual, but make sure you use a method that will allow you to choose the printer rather than using the default printer automatically (typically File, Print). Select the printer called \\print\SSCC2470, and click Properties. The following picture is from Microsoft Word, but you'll get something similar in most programs:
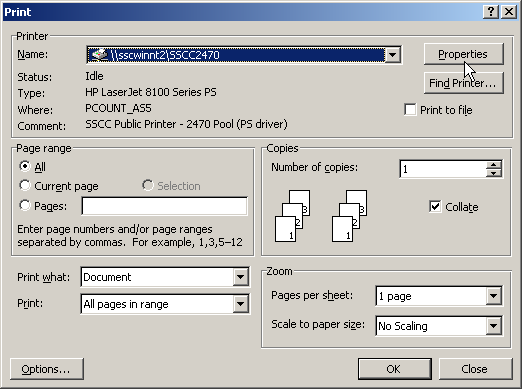
If the SSCC2470 printer is not available, you'll need to add it. See Setting Up Network Printers in Windows for instructions.
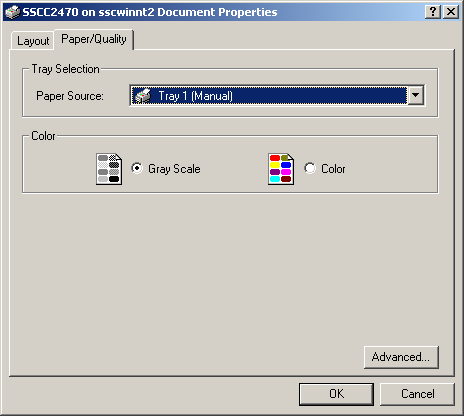
Once there, click on the Paper/Quality tab and then set the Paper Source to Tray 1 (Manual).
Now take your special paper down to room 2470. Remember that this room is locked, and you'll need your UW ID and a PIN to get in. If you do not have a PIN, you can request one by filling out the form available on the bulletin board outside room 4226.
Putting Your Special Paper in the Printer
When you get to room 2470, the printer may be busy with other jobs. If so you'll need to wait until your job comes up in the queue. When it does, it will print a yellow cover sheet with your name on it as usual. It will then stop, and a message will appear in the LCD window saying "Manually Feed Letter." This is your cue to put your paper in the printer.
If you are facing the front of the printer, tray 1, the one you want, will be around on the right side of the printer. It is also labeled with a "1." Use the handle to open the tray, and then pull to extend it. You can then place your paper on the tray. Put the sheet in face-down, with the top of the page away from you. When the paper is placed properly, the printer will automatically take it. You can then put in a second sheet if needed, and so forth (if you need to print many sheets the operator will use a different method that does not involve feeding the sheets in one at a time). When you're done, close the tray.
Note that the printer will not print any other jobs until your job is complete! Once you submit a job using the manual tray, please go to 2470 immediately and make sure your job is completed as soon as possible. Otherwise jobs submitted to the printer will just wait in the queue until your job is done, inconveniencing your fellow users.
Last Revised: 10/11/2004